ScriptE for iPad: Select Representative Photos
1. Manually assign take to photo and save
1. If you have taken screen shots without running a take, ScriptE will not know which take the screen shot belongs to. You need to set this manually.
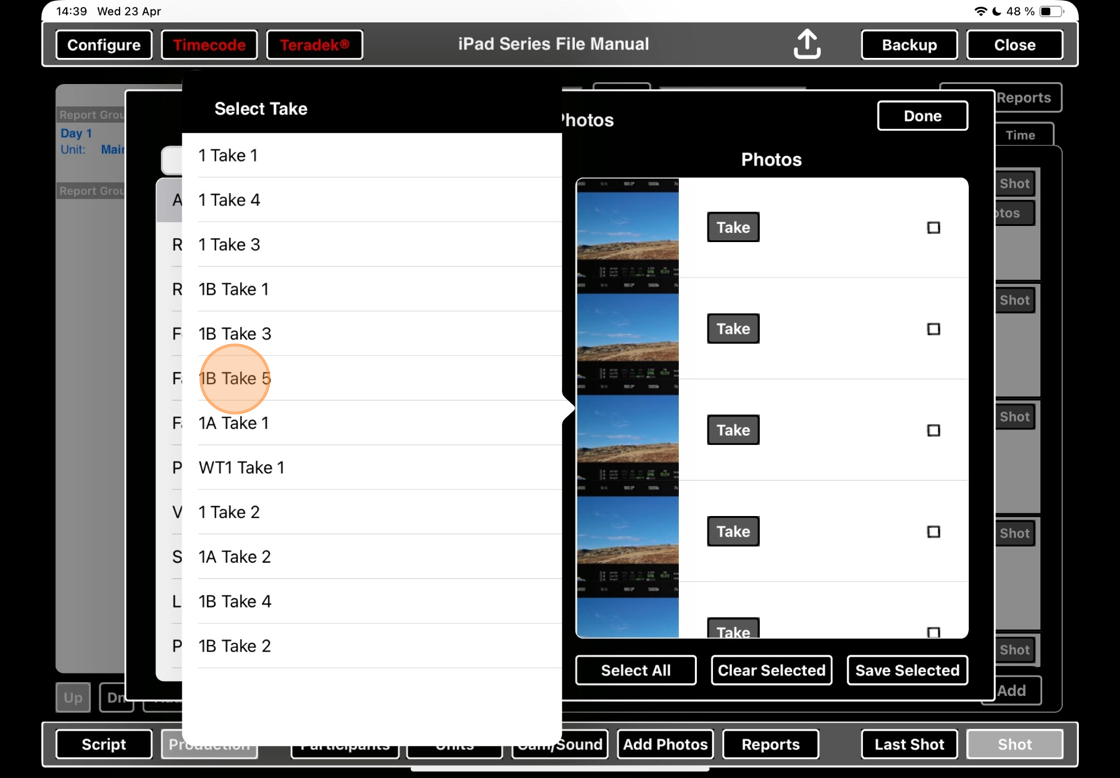
Click on the TAKE BUTTON for the photo you want to select.

2. Select the take from the list that pops out.
Alert: Do not spend time adding this information to all takes. ScriptE will not remember this information after you dismiss this window. You need to make sure that SAVE SELECTED. See the next step.
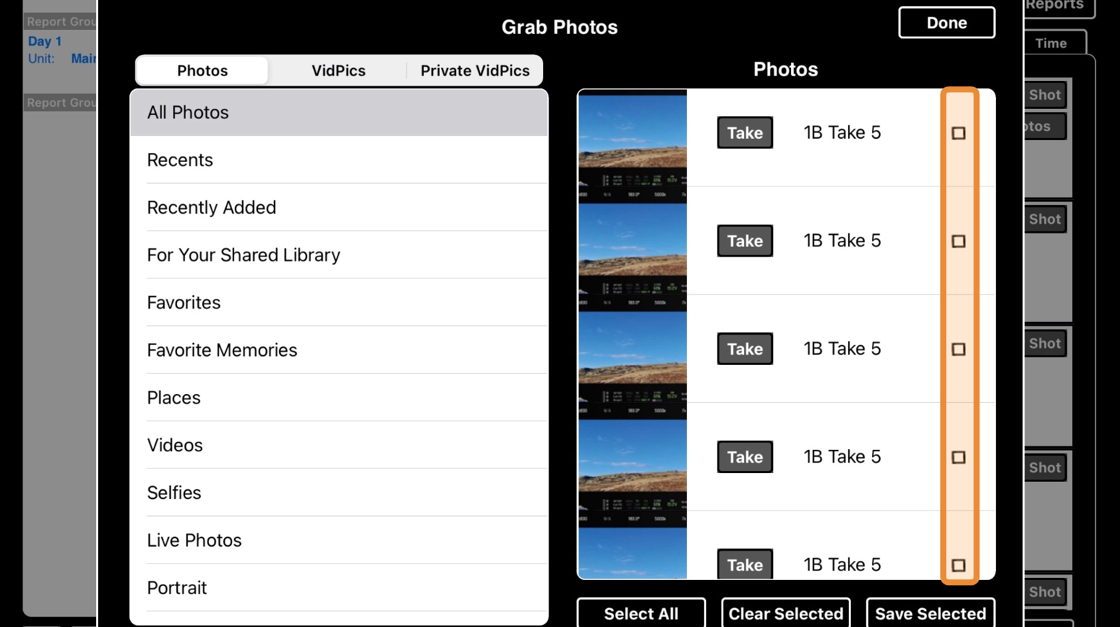
3. Click the tick box to select this photo for attachment.

4. Click SAVE SELECTED.

Tip: You can attach take information to more than one take at a time before clicking on SAVE SELECTED.
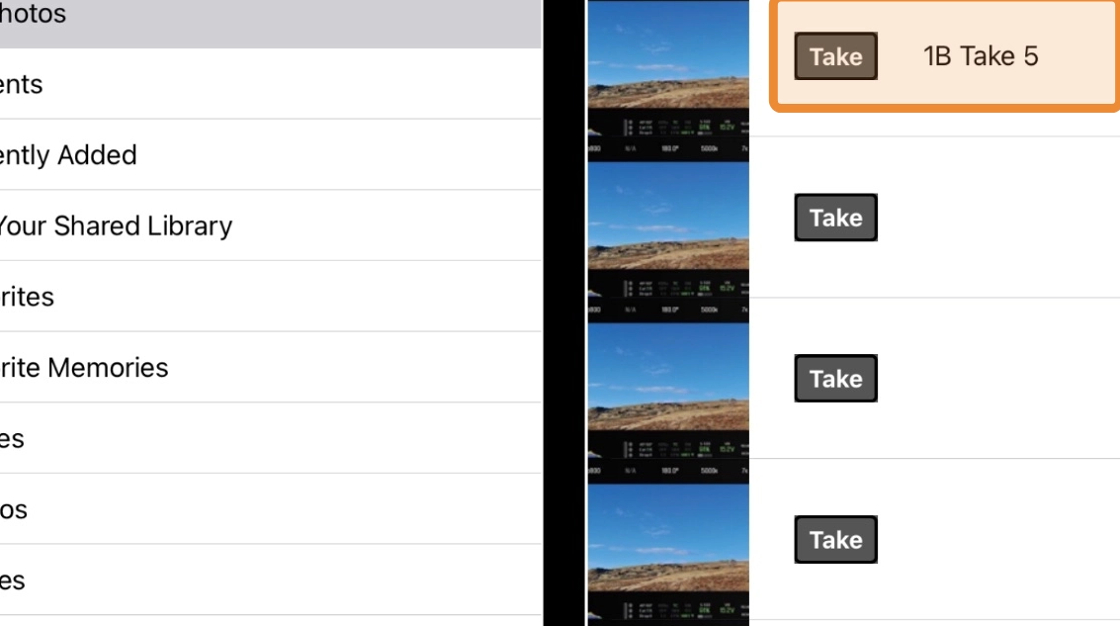
5. Tap here.
6. Click DONE to dismiss this window.

7. Photos have now been attached to the takes you selected.

2. Save photos with automatically assigned takes and save
Tip: If you take screen grabs while a take is rolling, ScriptE will automatically know which take the photo belongs to.
8. In the production tab, click ADD PHOTOS.

9. Select the folder you want to pull the photos from.
Note that it may take time to load in all photos if you have a lot of them.

10. Scroll through and click the tick boxes to select which photo you want to attach.
Note that saving many photos will make the file bigger. We recommend that you only select representative photos for the circled takes.
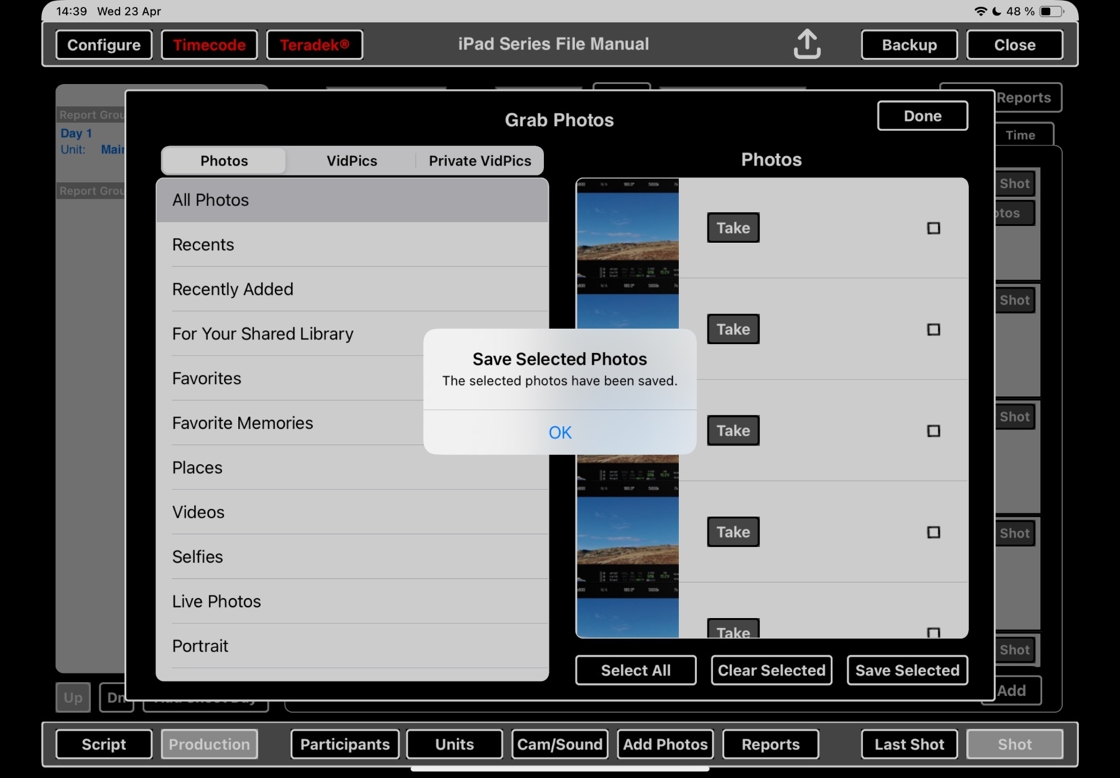
11. When you have selected all representative photos you want, click SAVE SELECTED.

12. Dismiss the popup confirming that photos have been saved by clicking on OK.

13. Click DONE to dismiss this window.

14. Photos have now been attached to the takes you selected.
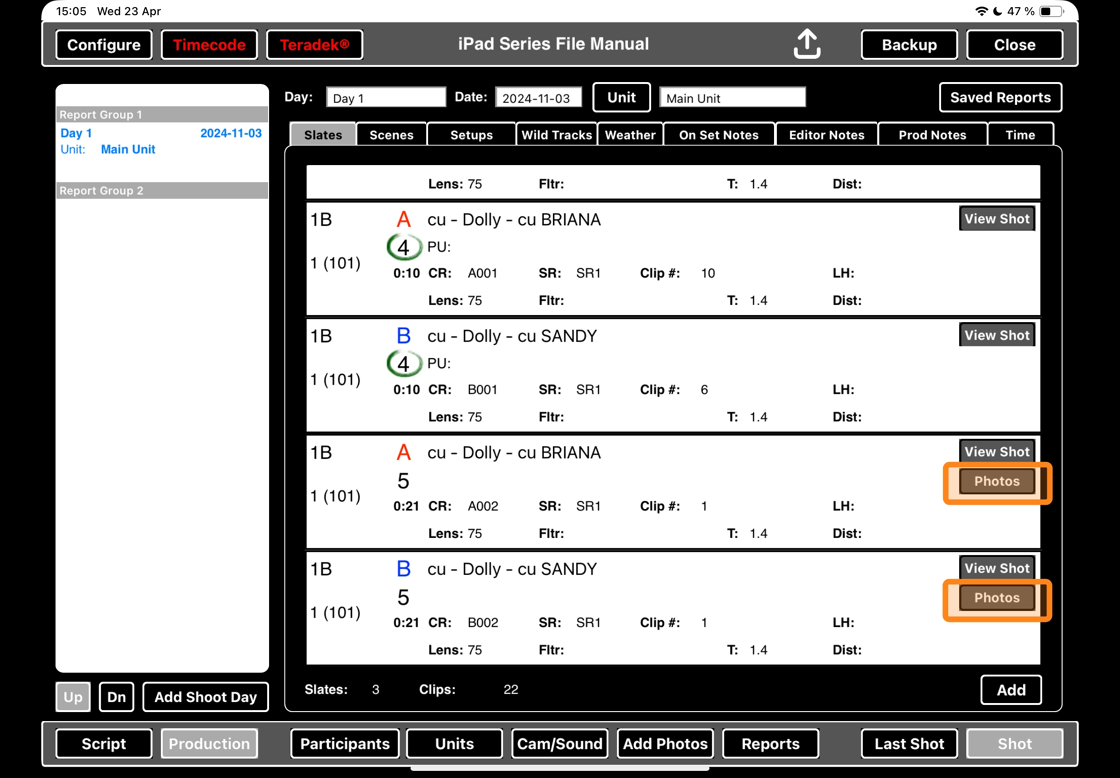
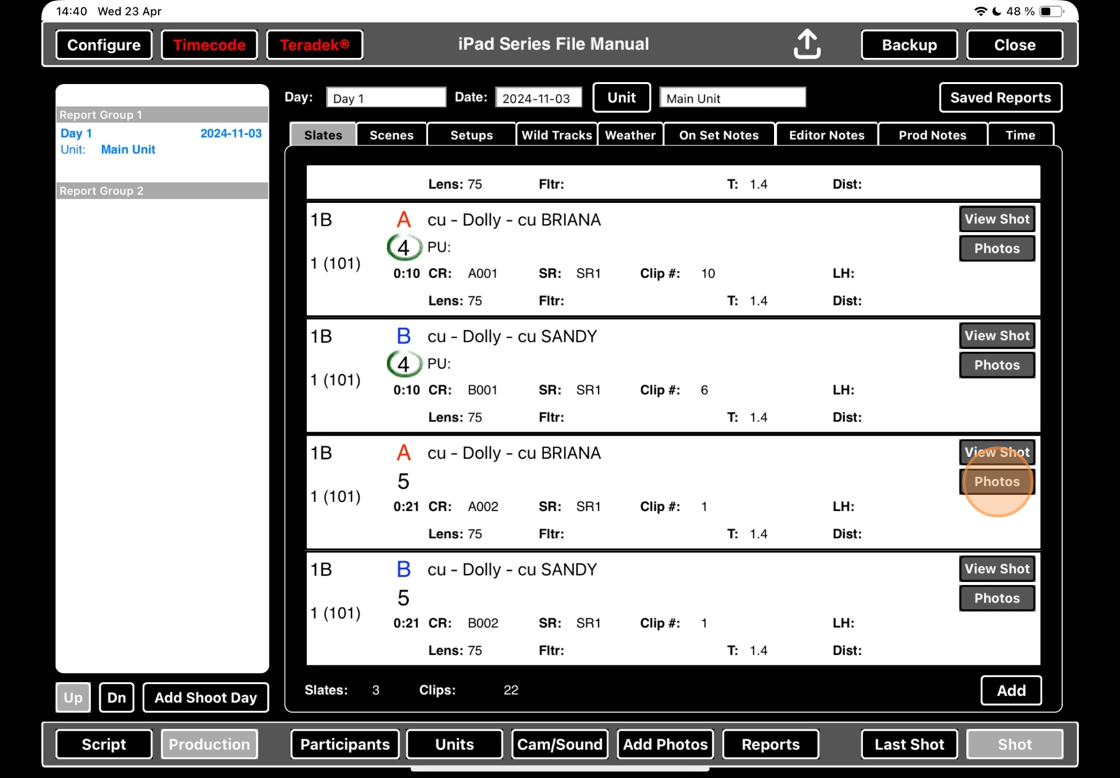
3. View representative photos
15. Scroll to find a take with photos. Click on the PHOTOS button.
16. A window with representative photos will open. ScriptE will have selected the photos from the take that you clicked the photos button on.
The two photo boxes will allow you to compare representative photos both within the same take and between takes.

17. To compare photos within the same take, ensure you have the same take selected in both boxes. Scroll through the middle PHOTOS boxes and click on photos to compare them.

18. Click on another take to compare between two takes.

19. Now, 1B take 5 is selected in the top box, and 1B take 4 is selected in the bottom box. Scroll through the middle PHOTOS boxes and click on photos to compare them.

20. Click DONE to dismiss this window.
